INFRARED? IS THIS A VIDEO GAME?
While it may sound like something straight out of a Call of Duty game, infrared is actually a new, more cost-efficient way of repairing asphalt. It leaves nicely shaped square looking patches without a seam that water can penetrate. It also has a faster turnaround time than the traditional methods of asphalt repair, so it disrupts your parking lot for a shorter period of time.
INFRARED ASPHALT REPAIR STEPS
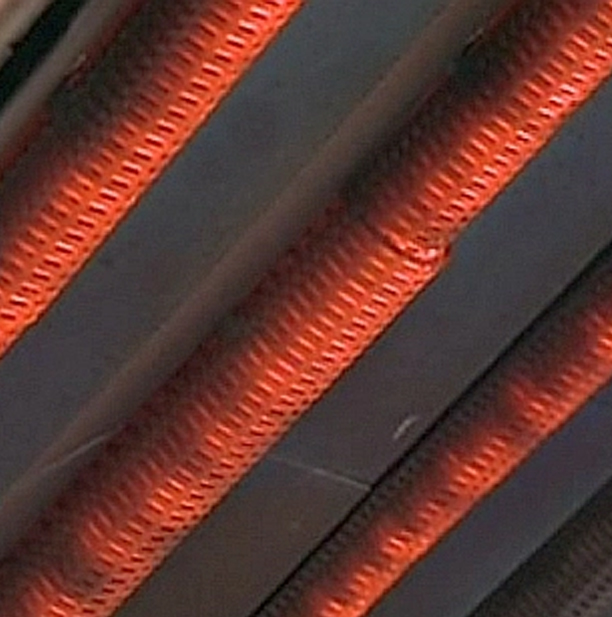
The first step in infrared repair is to clean the area that is going to be repaired. After the area is clean, the infrared heater is lit, and it cycles heat on and off. The heat should penetrate 1 ½ to 2 inches of the existing asphalt mix.
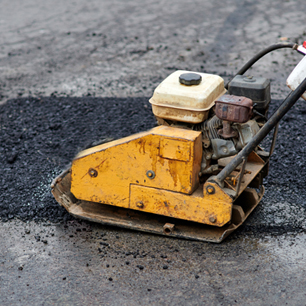
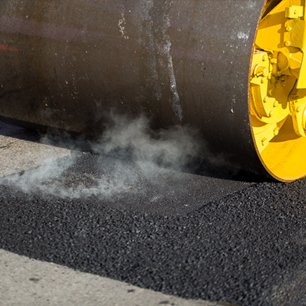
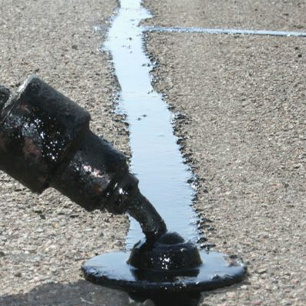
After the asphalt is properly heated, the heater is removed and the hot softened asphalt is raked. At this point, a rejuvenator is sprayed onto the heated area replacing some of the oils that have oxidized out over time. Then fresh hot asphalt is added and the area is luted to its desired grade and compacted. Because the existing asphalt around the area has also been heated, it forms a better bond with the new asphalt then cutting and replacing.
- Some examples where infrared work may be your best option include:
- Potholes where it looks like the base is still intact
- Surface cracking where oxidation is present
- If you want to add speed bumps to your lot
- If you want to lower an area of your lot
- Building a handicap accessible ramp
In fact for those last three items, infrared is the best choice because it keeps a solid bond between the new and the existing asphalt. By heating up the existing asphalt before adding the new asphalt for the ramp, for example, it ensures a tight bind that keeps moisture out.

INFRARED ASPHALT
REPAIR
INFRARED? IS THIS A VIDEO GAME?
While it may sound like something straight out of a Call of Duty game, infrared is actually a new, more cost-efficient way of repairing asphalt. It leaves nicely shaped square looking patches without a seam that water can penetrate. It also has a faster turnaround time than the traditional methods of asphalt repair, so it disrupts your parking lot for a shorter period of time.
INFRARED ASPHALT REPAIR STEPS
The first step in infrared repair is to clean the area that is going to be repaired. After the area is clean, the infrared heater is lit, and it cycles heat on and off. The heat should penetrate 1 ½ to 2 inches of the existing asphalt mix.
After the asphalt is properly heated, the heater is removed and the hot softened asphalt is raked. At this point, a rejuvenator is sprayed onto the heated area replacing some of the oils that have oxidized out over time. Then fresh hot asphalt is added and the area is luted to its desired grade and compacted. Because the existing asphalt around the area has also been heated, it forms a better bond with the new asphalt then cutting and replacing.
- Some examples where infrared work may be your best option include:
- Potholes where it looks like the base is still intact
- Surface cracking where oxidation is present
- If you want to add speed bumps to your lot
- If you want to lower an area of your lot
- Building a handicap accessible ramp
In fact for those last three items, infrared is the best choice because it keeps a solid bond between the new and the existing asphalt. By heating up the existing asphalt before adding the new asphalt for the ramp, for example, it ensures a tight bind that keeps moisture out.
